Nessus is a widely used cyber security tool developed by Tenable Network Security, a well-known cyber security company. Nessus is a vulnerability scanner that is designed to identify and assess vulnerabilities in computer systems, networks, and applications. Tenable maintains a Docker image that helps us to create a temporary, disposable Nessus server anytime we need one.

Don’t forget to join my Discord: https://discord.gg/YbSYGsQYES
Important info:
The Tenable Nessus Docker image does not support persistent storage volumes. If we deploy a new Tenable Nessus container, we will lose our data. We have to reconfigure Tenable Nessus after every deployment. No problem, it is our plan with our Docker + Nessus configuration! 😁
Prerequisites:
- A machine with installed and configured Docker (How to install Docker?)
- A Nessus free or professional license key (With the free license the host addresses will no longer count against our license 90 days after their last scan.)
- A cup of coffee (as it moves the IT world of course)
Download an available Nexus image:
There are two Nessus images we can choose from, the Oracle Linux and the Ubuntu Linux based. To pull either we can define a tag for the docker pull command.
docker pull tenable/nessus:latest-ubuntu
The command should download the latest Ubuntu Linux based Nessus image.
Start the container configured with environment variables:
docker run --rm -d -p 8834:8834 --name "nessus_instance" -e ACTIVATION_CODE="<activation_code>" -e USERNAME="<user>" -e PASSWORD="<pw>" tenable/nessus:latest-ubuntu
We use here the default 8834 port. The ACTIVATION_CODE is the code we got after registering at Tenable. The USERNAME and PASSWORD are used for logging in the service. The --rm option makes sure we erase the container when we shut it down.
Depending on the host machine in several minutes the Nessus server will be available. We can log in with the provided user and password at https://<server_address>:8834. Please note that we must use HTTPS!
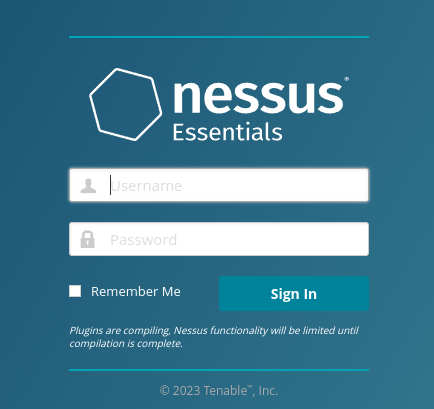
The first login:
We can log in using the Nessus log in prompt.
After the first login we must wait for the plugins to be compiled for the system.
It can take about 5-10 minutes.

When the compiling process is ready we will see a welcome message from Nessus.
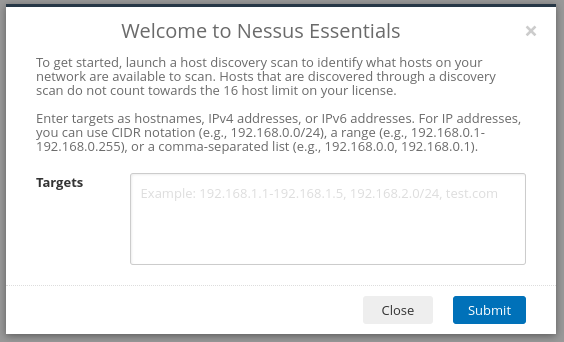
We are ready to create our scan.
Create a New Scan:
Now we can create a scan with the New Scan button on the top right corner.
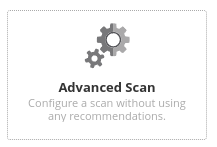
After clicking the button we can choose from various scan types.
Let’s choose the Advanced Scan now!
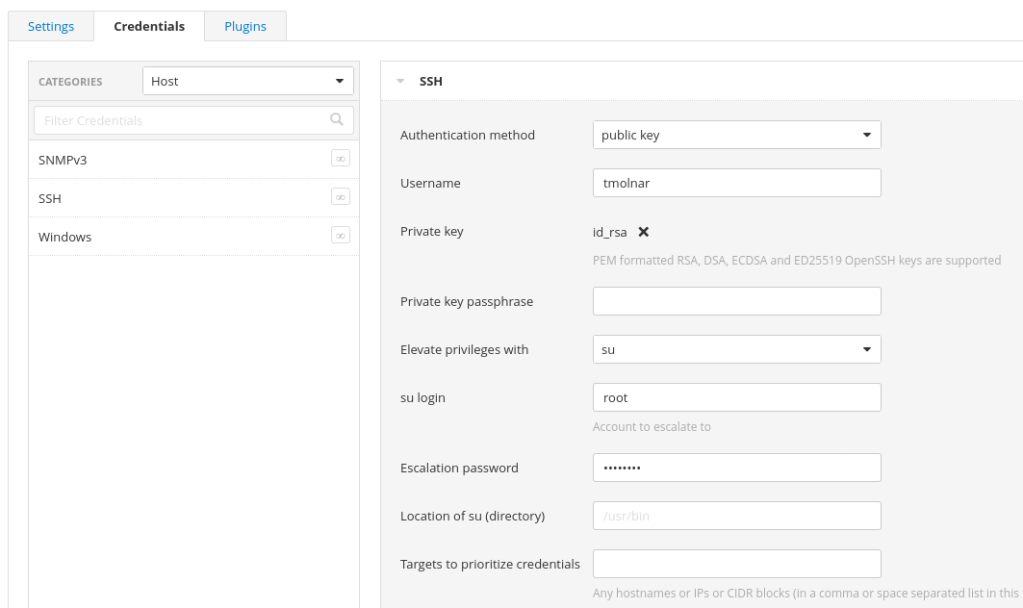
Let’s configure the name of the scan and the target host(s) depending on our needs.

Optionally we can set the SSH authentication for more thorough vulnerability scanning on the host.
Now we can save the scan and start it with the play button.
The results:
After getting the scan results, we can export them with using the Export button on the top right of the screen.

We can shut down the Docker container and we can start working on fixing our vulnerabilities.
docker stop nessus_instance
Conclusion:
With using the Docker image we can fire up a new Nessus instance in 15 minutes. It is stateless and clean after every deployment.
At every fresh deployment our 16 free hosts are empty and we can freshly start (please do not abuse this feature).
Don’t forget to join my Discord: https://discord.gg/YbSYGsQYES

hey
cool blog 🙂 will give it a follow and a like !
LikeLiked by 1 person
Thank you!
LikeLike