VMWare is a famous name in virtualization technology. If you work in IT it is impossible that you don’t know about the VMWare products. A lot of companies use the vSphere infrastructure with vCenters and ESXi hosts. On the other end of their products there are the home users and small businesses. We can use the Workstation Player for free for non-commercial use of course, but the Workstation Pro has more powerful features that can help us building a personal home lab.
Now we want to download the software and start the 30 days trial first. Let’s navigate to their home page and look for the download link of the product.
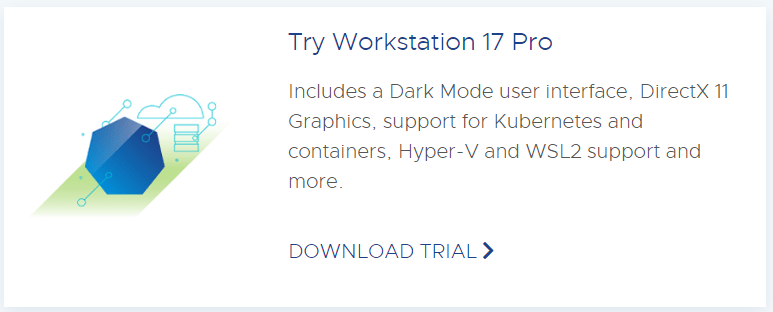
We can choose between the Windows and the Linux versions, so let’s download the appropriate version for our Operating System. The DOWNLOAD NOW button will start downloading the installer on our system.
Let’s double-click on the installer and start the process. It is almost just a next-next-finish task.
After accepting the License and reading the EULA we just simply follow the status bar.
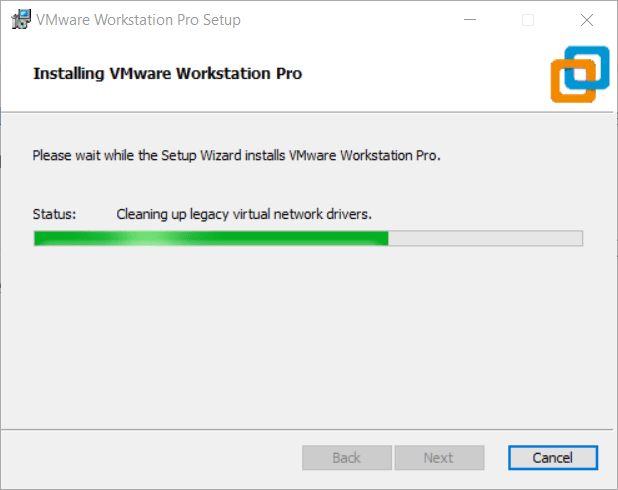
In the end of the installation process we must reboot our system.
Then when we first start our newly installed Workstation Pro the product will ask for a license key, or alternatively we can can start a 30 days trial period.
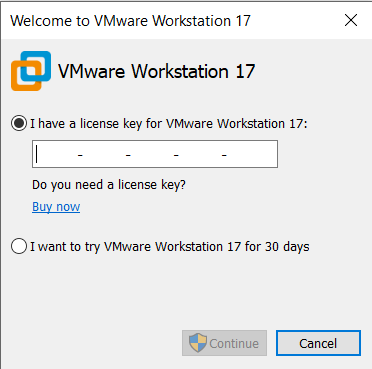
Let’s start our trial now!
If we had a VMWare Workstation Player installed on our machine with already configured virtual machines, then we can import them into Workstation Pro of course.
Let’s right click on My Computer and look for the Scan for Virtual Machines menu point in the drop down.
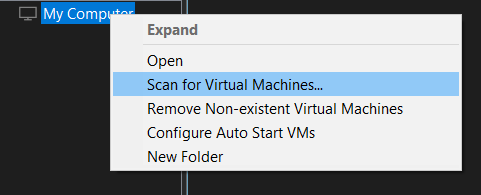
Open our virtual machine folder and with a click we can import them.
Voila!
Now we have imported our VMWare Workstation Player virtual machines into VMWare Workstation Pro. When the 30 days trial expires the product will prompt for a license key.
We can buy our license online from the WMWare Store or from a reseller.
If you have anything to share then please visit my Tom’s IT Cafe Discord Server!
Discover more from Tom's IT Cafe
Subscribe to get the latest posts sent to your email.
